Window on the World
Marvellous Monochrome: Colour
A no-mess, 20 minute colour sketch in monochrome that brings the outside world in
This activity is based on a few sketches I made at home over the festive season, when I needed to draw from observation but the weather outside was frightful…
The materials aren’t messy or complicated, you can rest the paper on your lap while sitting, and the size is perfect to just make a quick sketch.
I’ve adapted it a little, inspired by everyone who joined me for Marvellous Monochrome at DRAW Studio. It’s an great extension into colour for those who stayed with black & white during our 5 week course. And it gives us different way to create a composition - using the window as our frame this time. It’s also really joyful to draw a view from our daily lives, from observation; to imagine an interior of a room and the exterior world as one connected landscape.
You’ll need:
A5 white paper
Something to rest your paper on (sketchbook etc)
1 coloured pencil (dark reds, blues, purples & greens show up well), pencil sharpener and rubber (optional)
A window in your home, at a cafe, from the car…
Step 1: Observe
You’re sat (or stood) close to a window.
Take a moment to look at what’s in your view - close to you, far away in the distance, within the window frame.
Think about how much of the interior / exterior will make up your drawing. Will the view from your window be the focus? Or will your drawing include much of the interior?
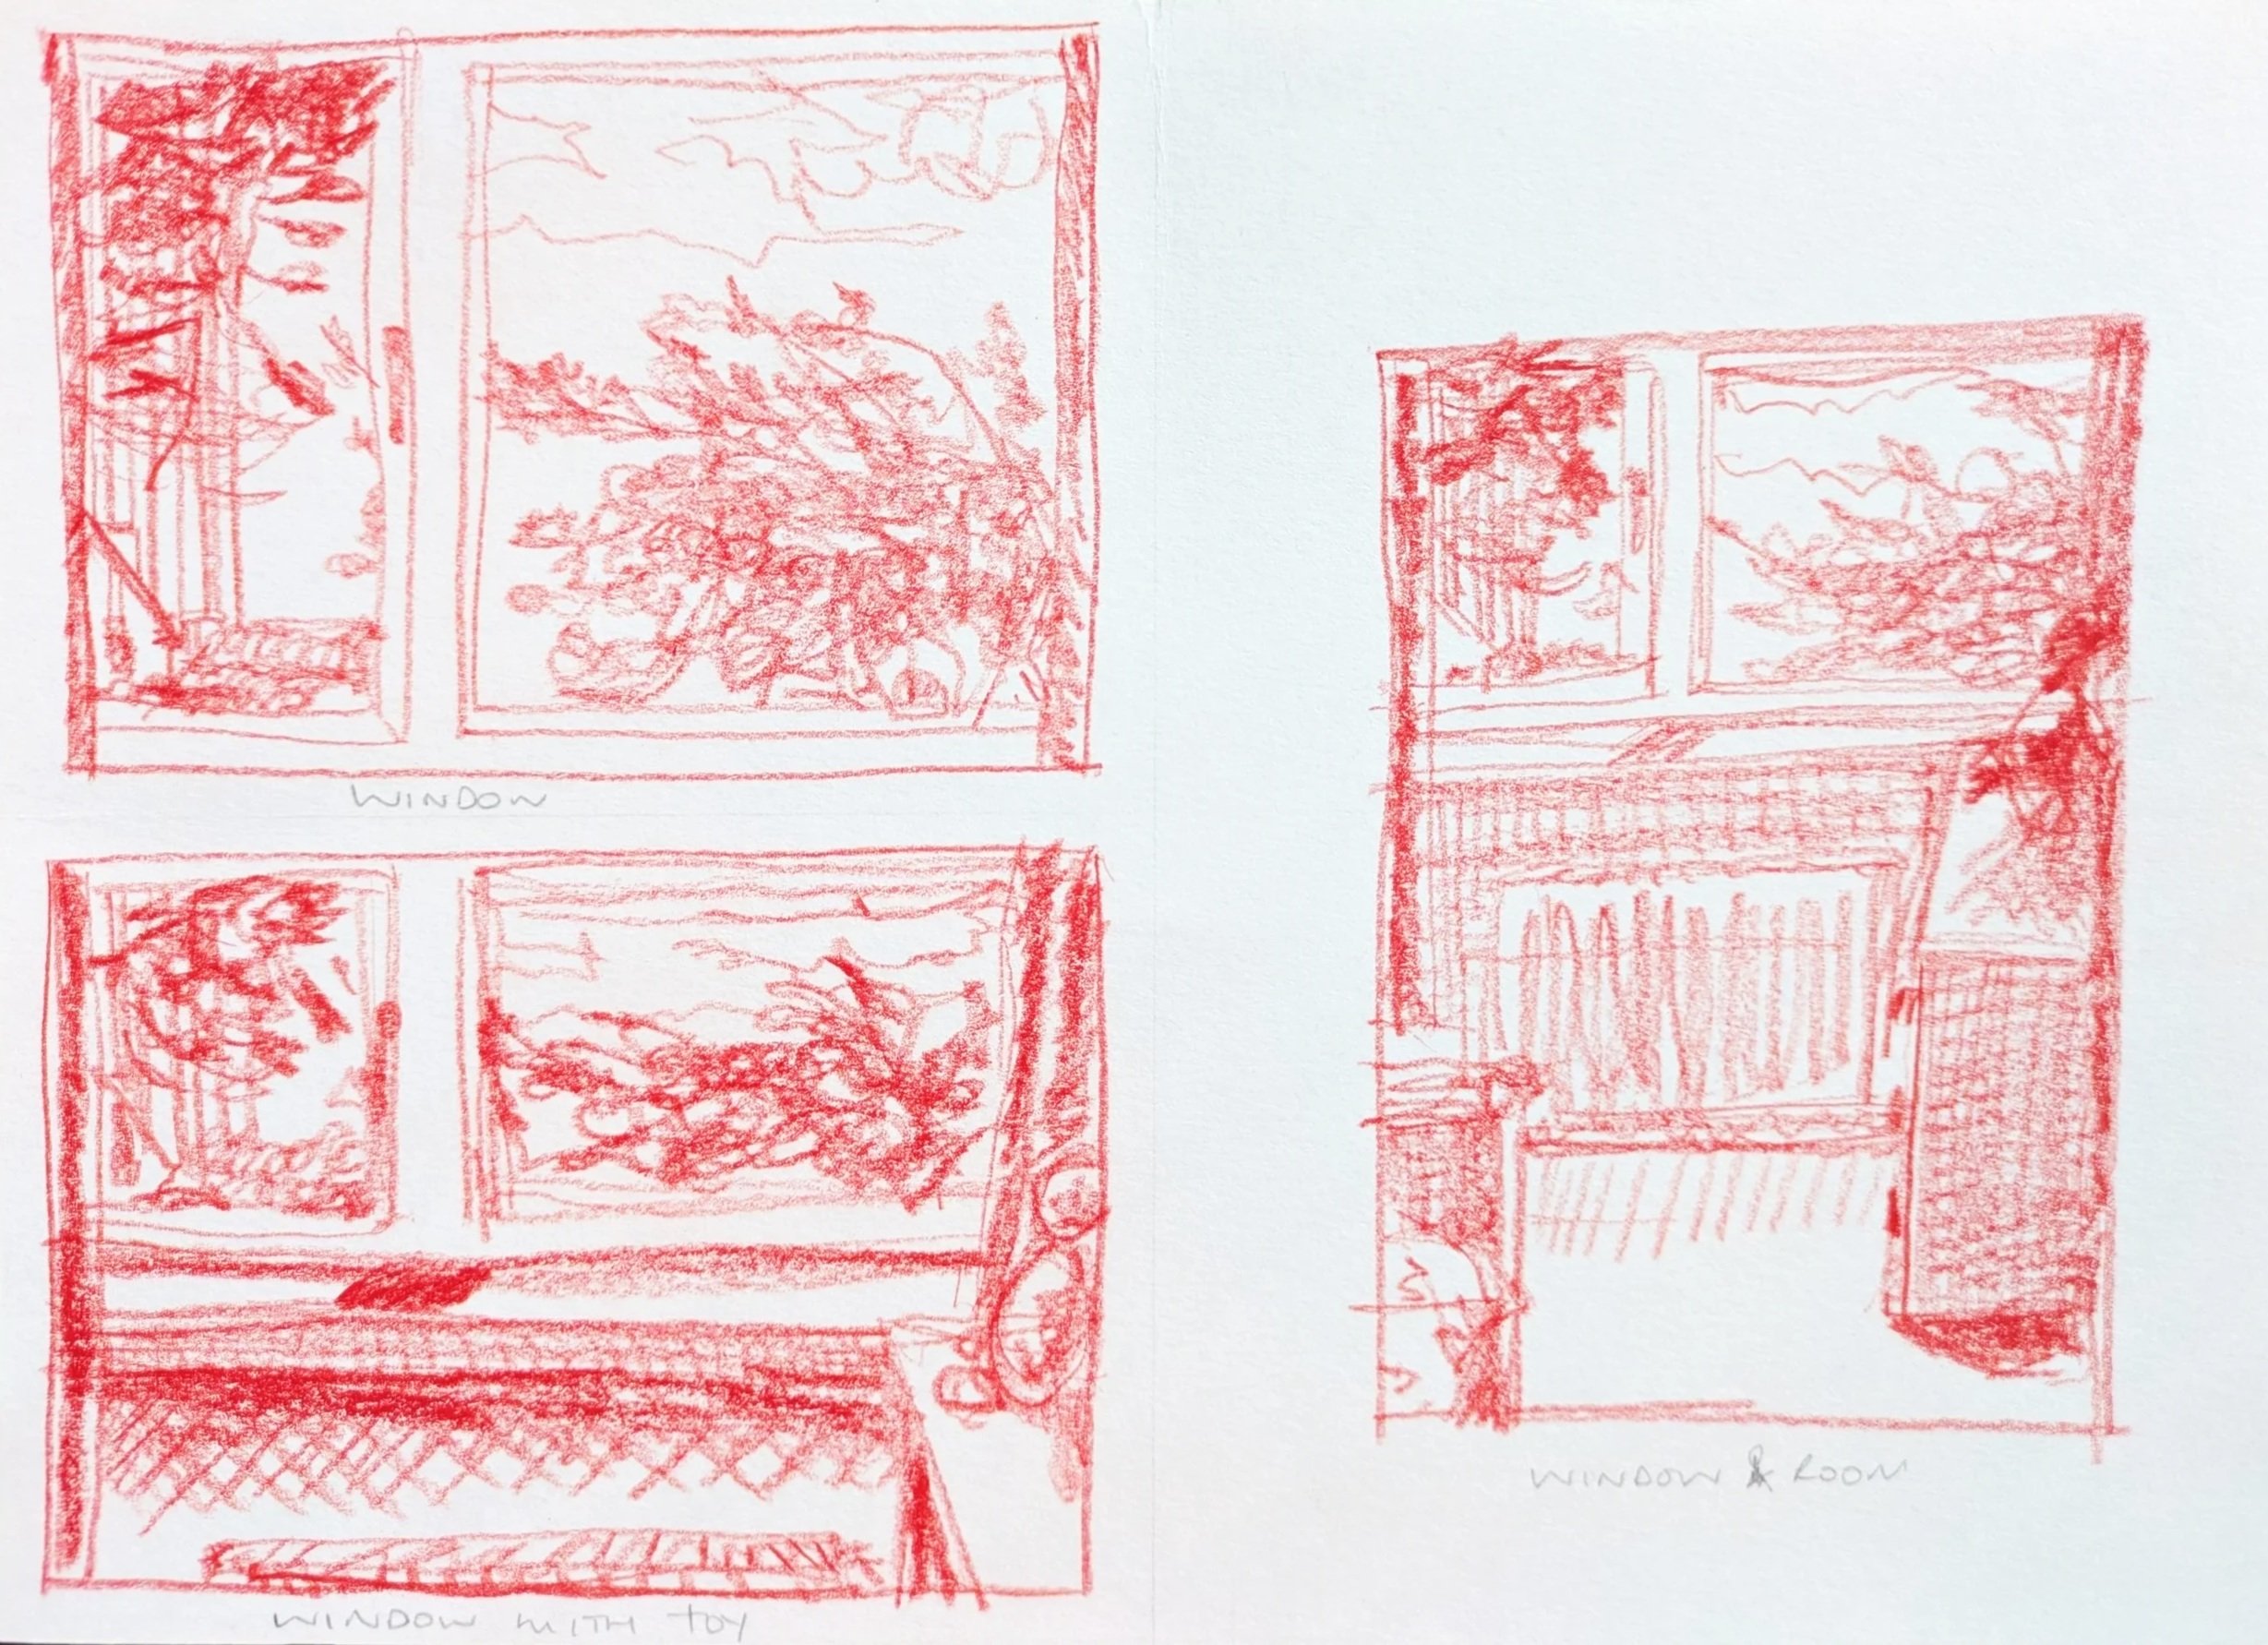
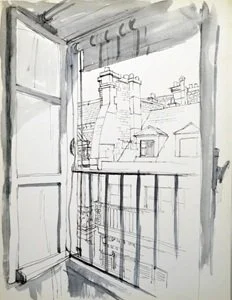
Here’s 3 thumbnail sketches of the same window to give you an idea of how it changes the final drawing. Clockwise from top left: close up, with the room in two thirds of the image, with some objects close to the window.
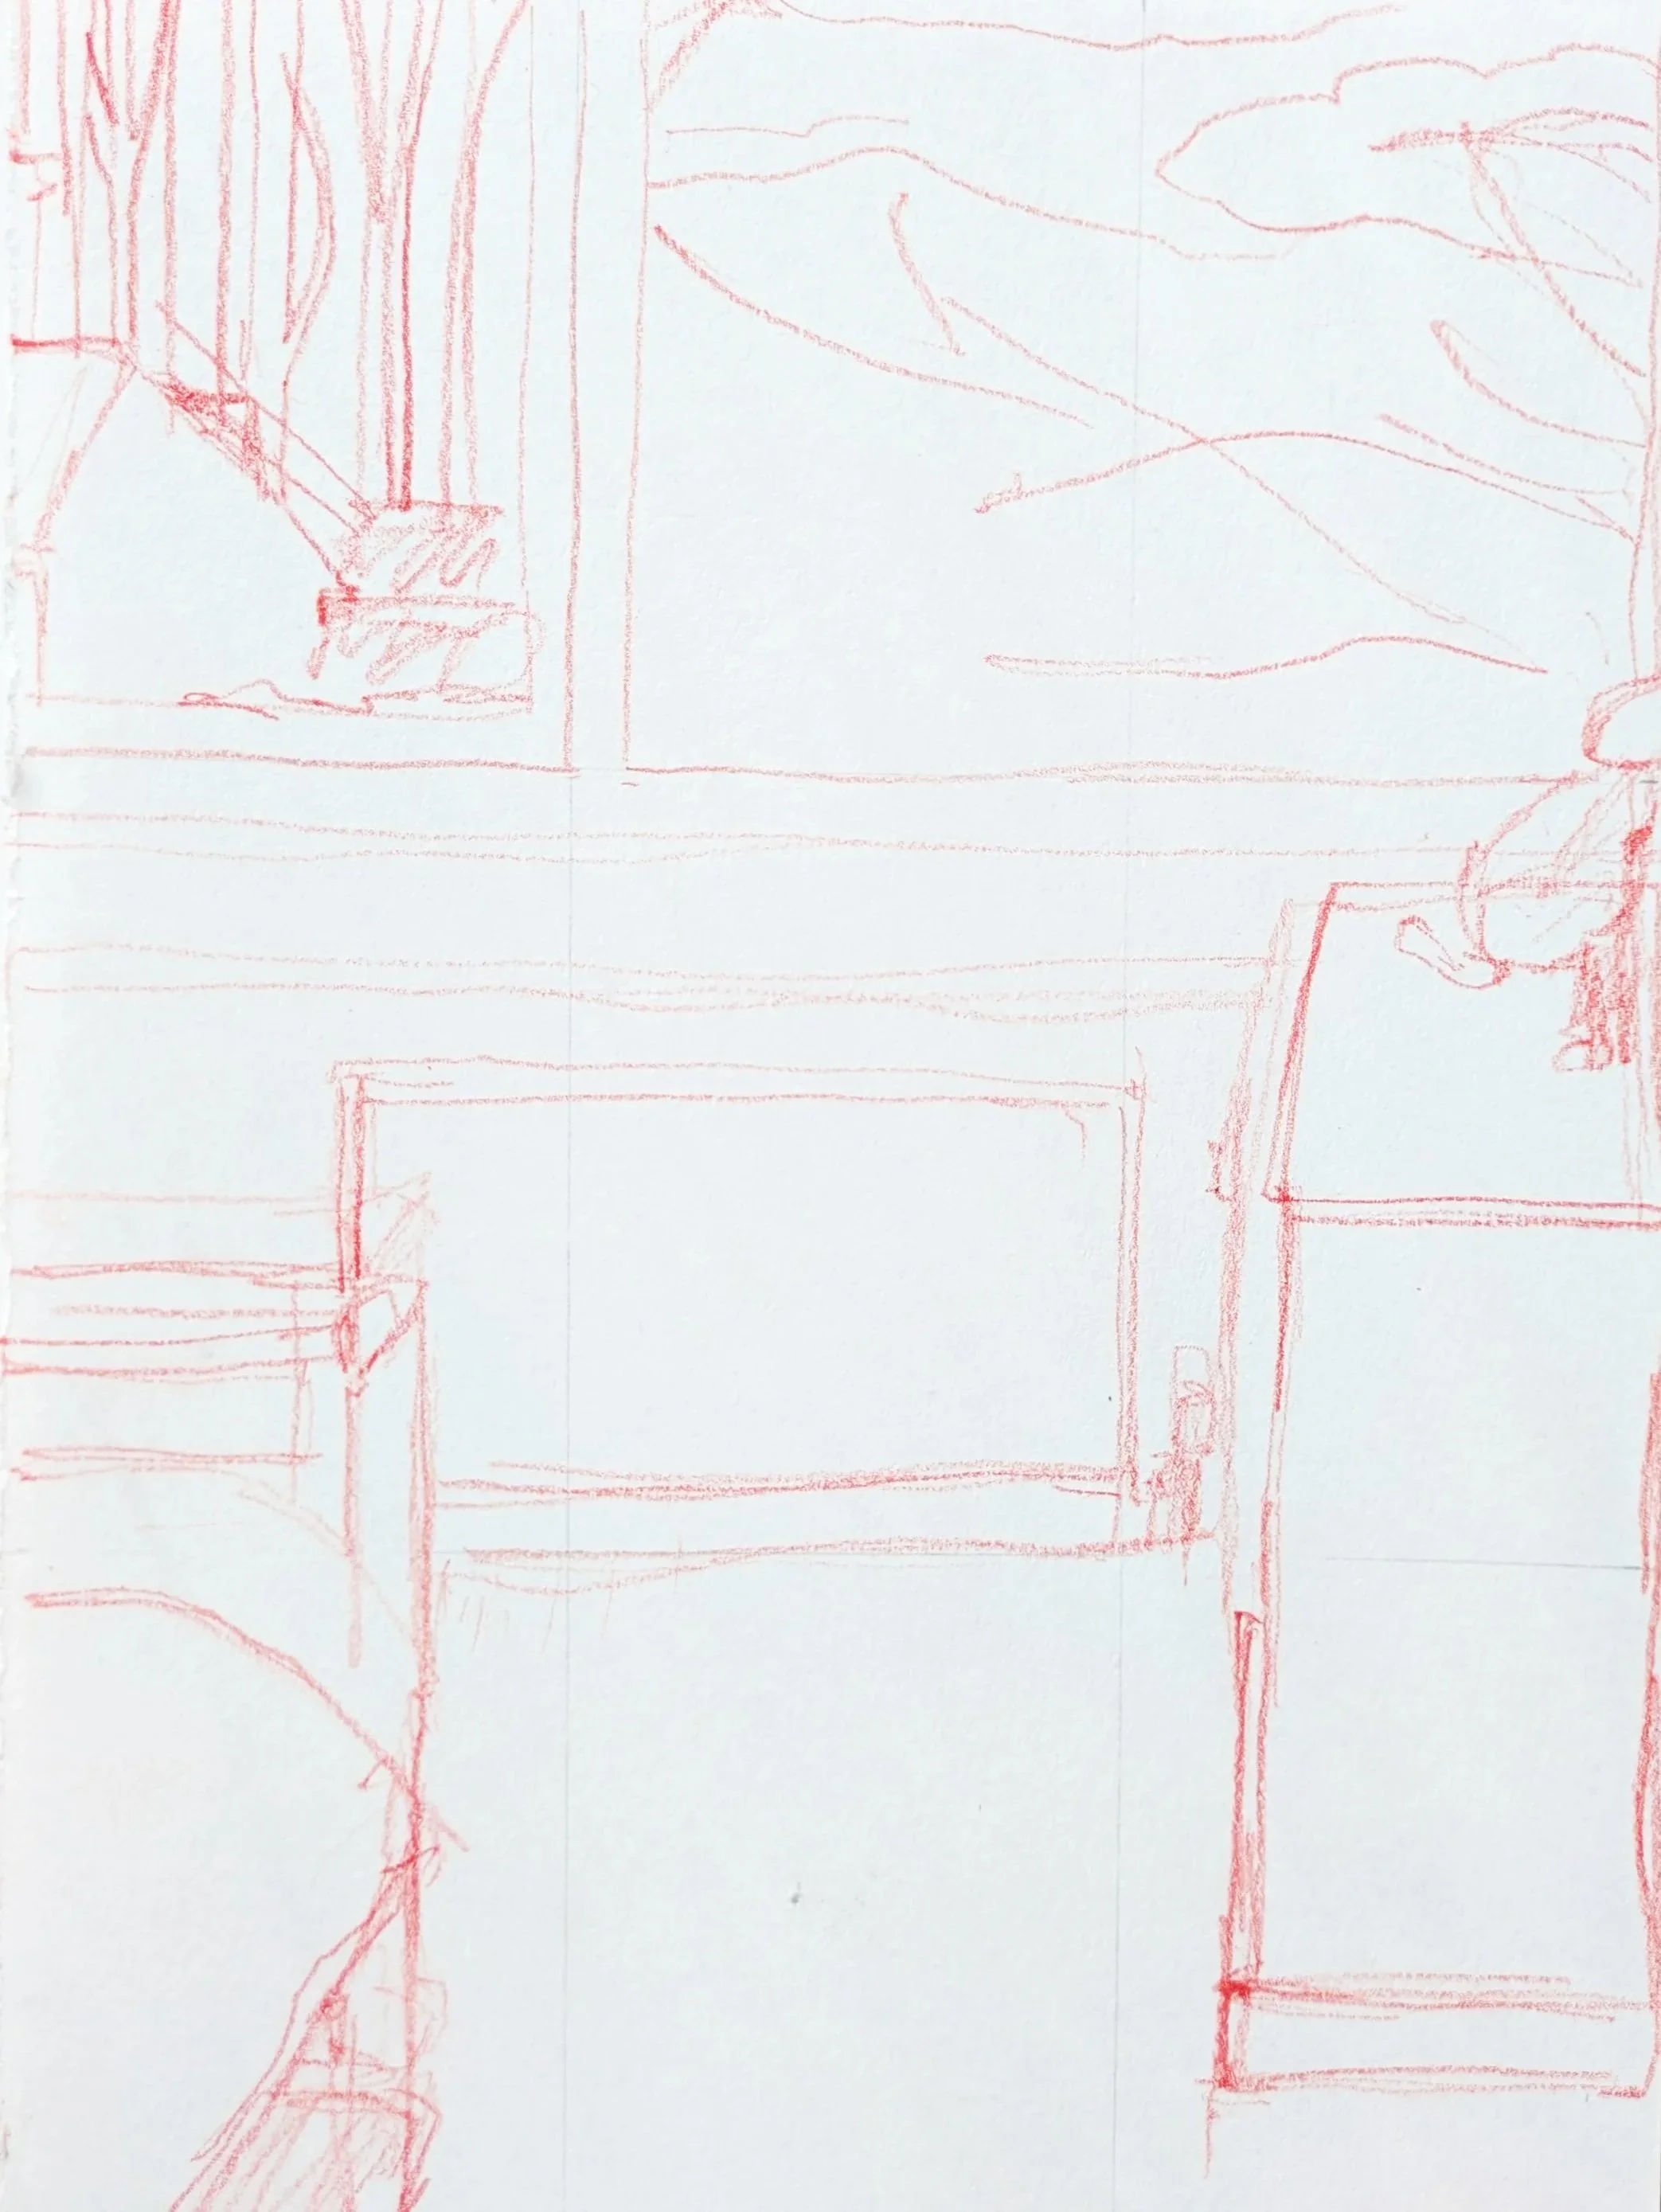
Step 2: Contour Drawing
Use the coloured pencil to draw the outlines of the shapes you see within the view you’ve chosen.
Finding the composition a little tricky? Use the Rule of Thirds….
Draw your 3x3 grid onto the page using a pencil.
Hold your pencil up with your arm extended and use it to roughly measure a feature within the top third of the scene. Move the pencil down to find the next third, noticing what lines intersect it, and so on. Mark those intersecting lines on the page first, so they are like anchor points for everything else you’ll draw.
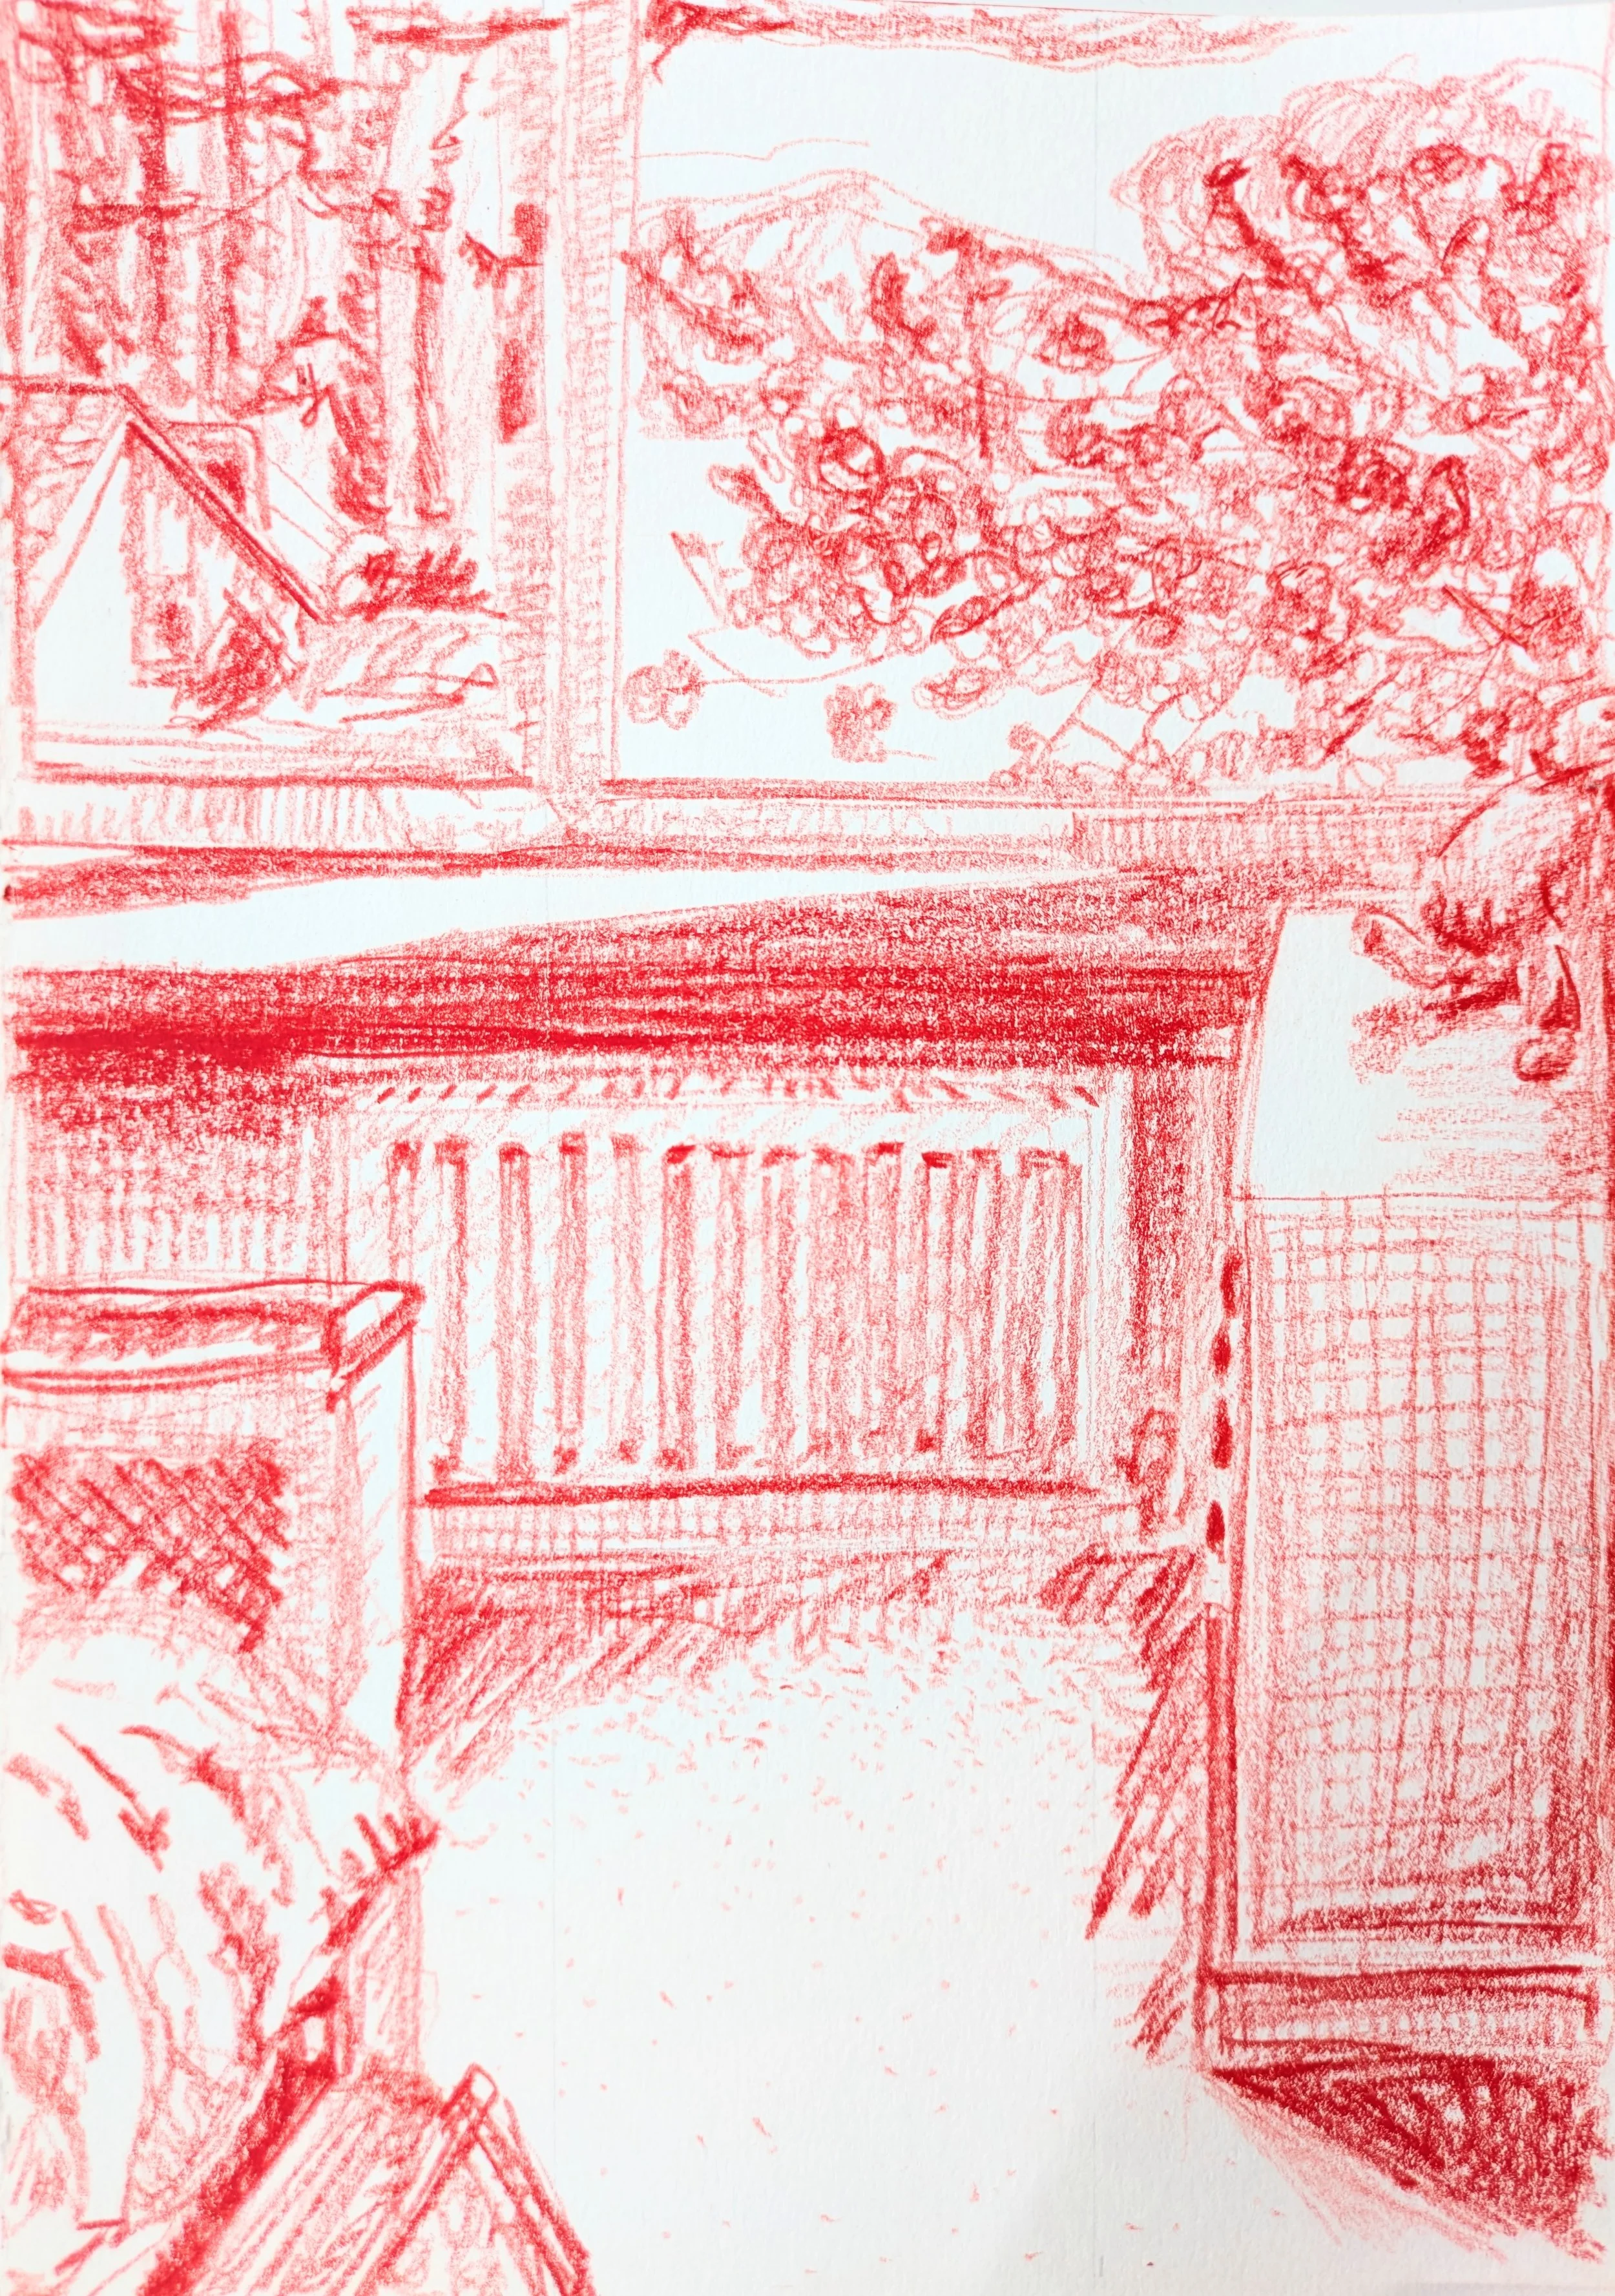
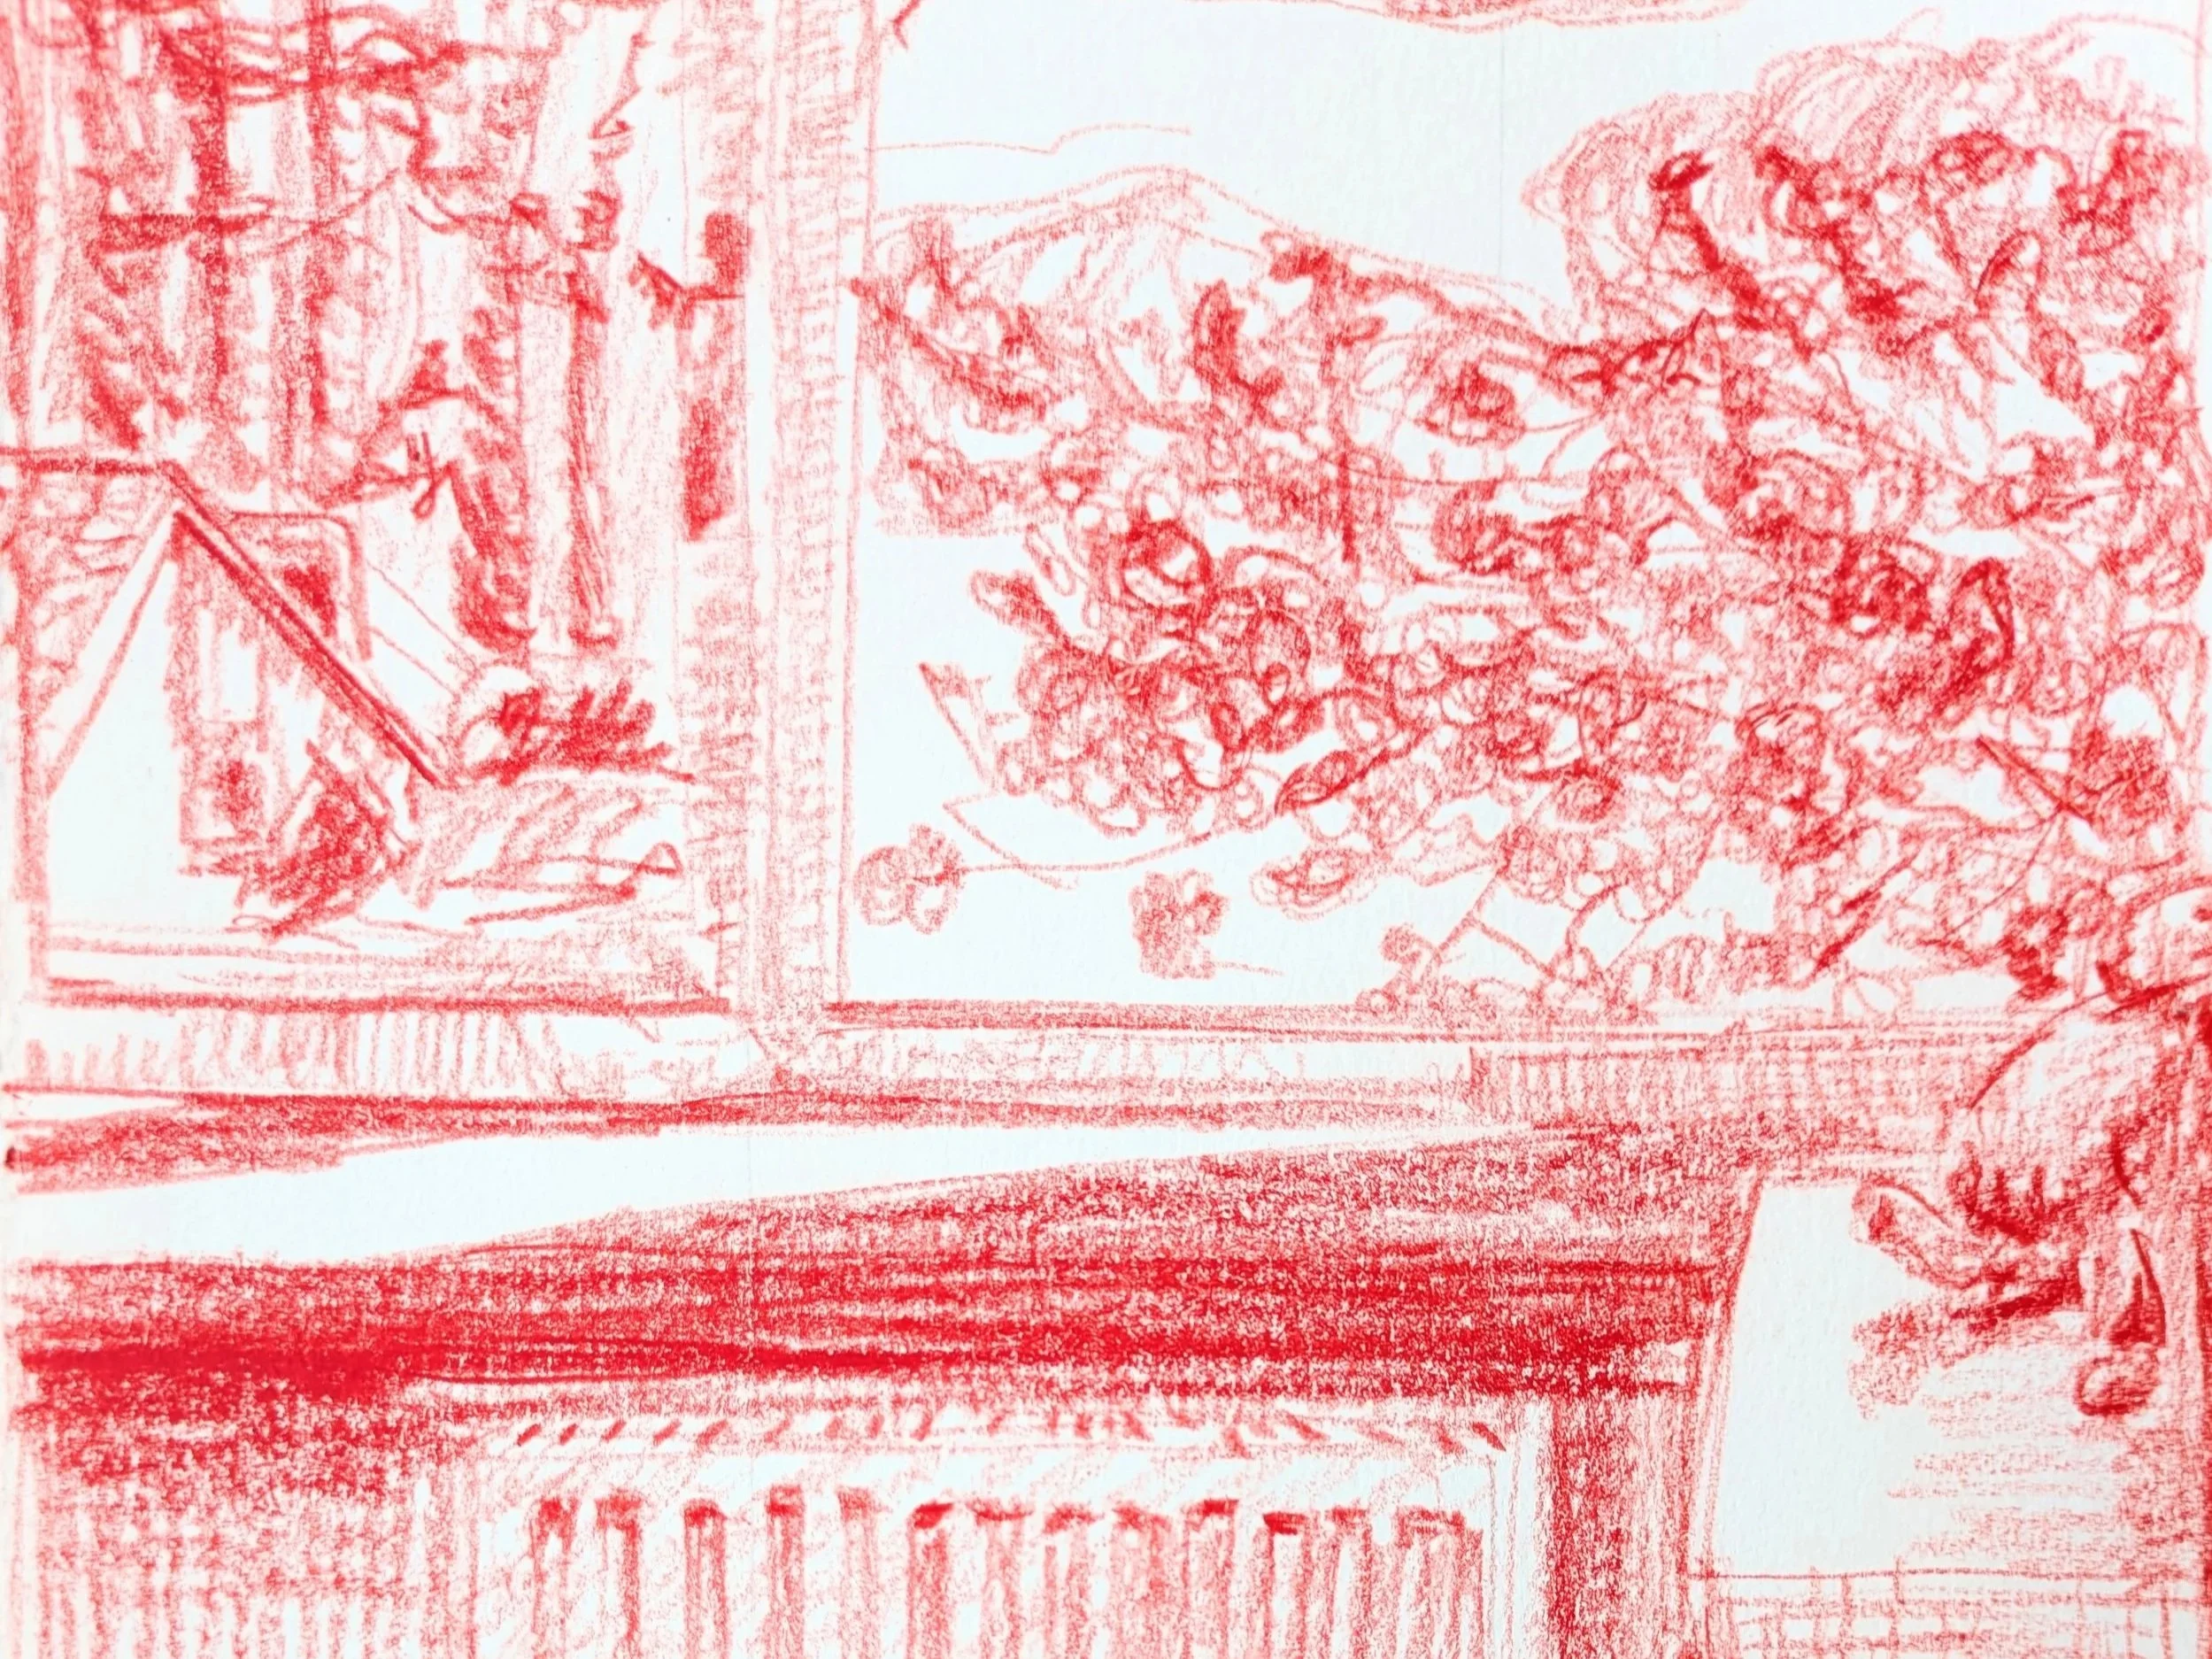
Step 3: Mark Making
To build the image through mark making, use the reference grids we created during Marvellous Monochrome for pencil & pen. Hatching, cross hatching, cross contour, dots, etc. Any combination that you enjoy.
Use cross hatching to build up the shadows in the image.
Use hatching and/or cross contour to give direction to things, like the curve of an armchair or tree branches.
Include interesting features too, like the pattern in the carpet or leaves in a hedge.
Top Tip: Edit as you go
We don’t have to include everything that we can observe in a drawing.
Sometimes, trying to include it all can make the drawing cluttered or we simply might not have time to draw too many details.
So, as you are building up your image, have a go at leaving things out. Or, include unexpected things that tell a story - from plants to patterns in the carpet
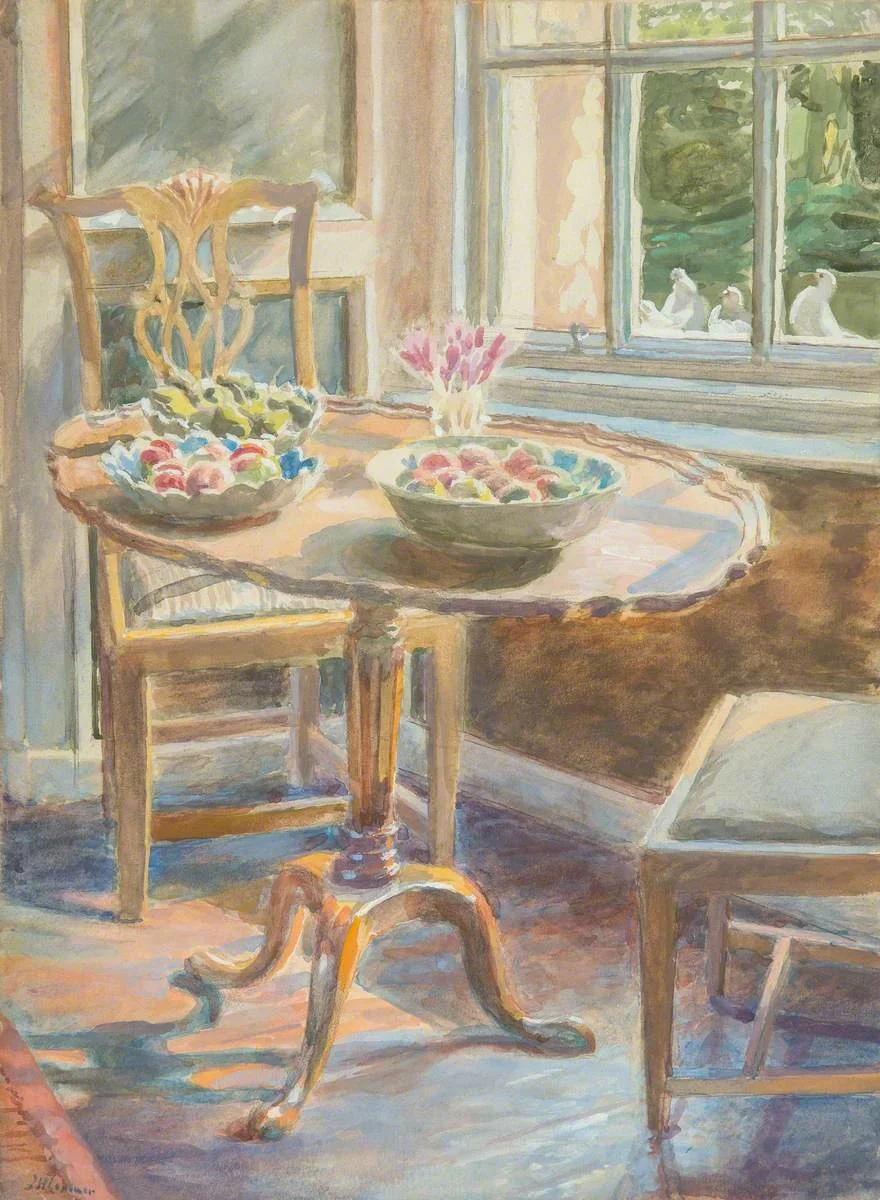
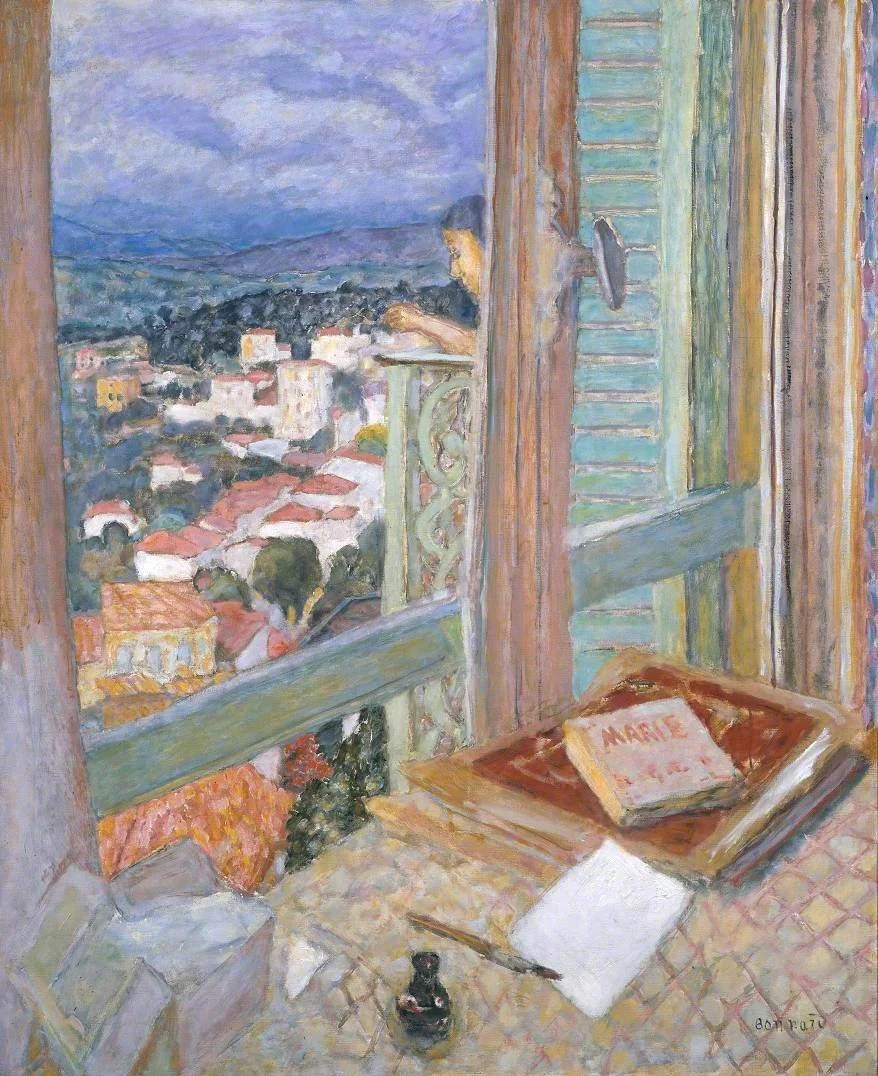
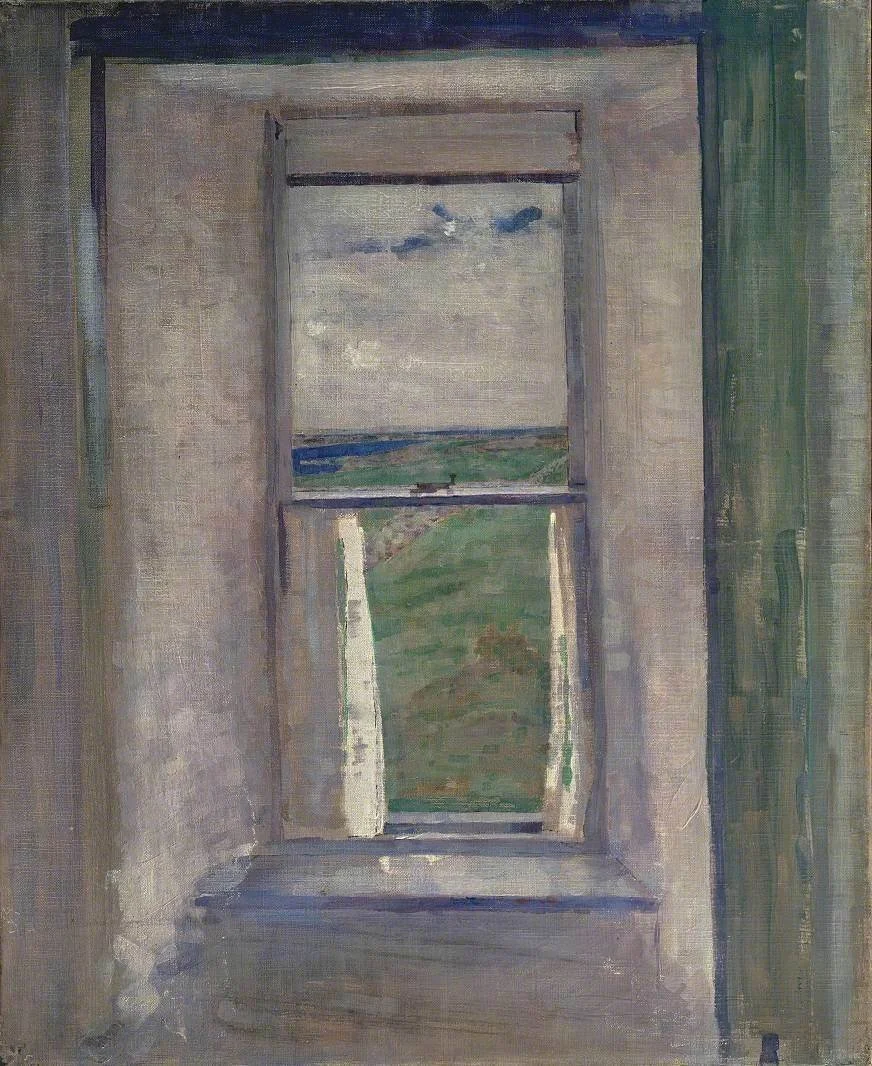
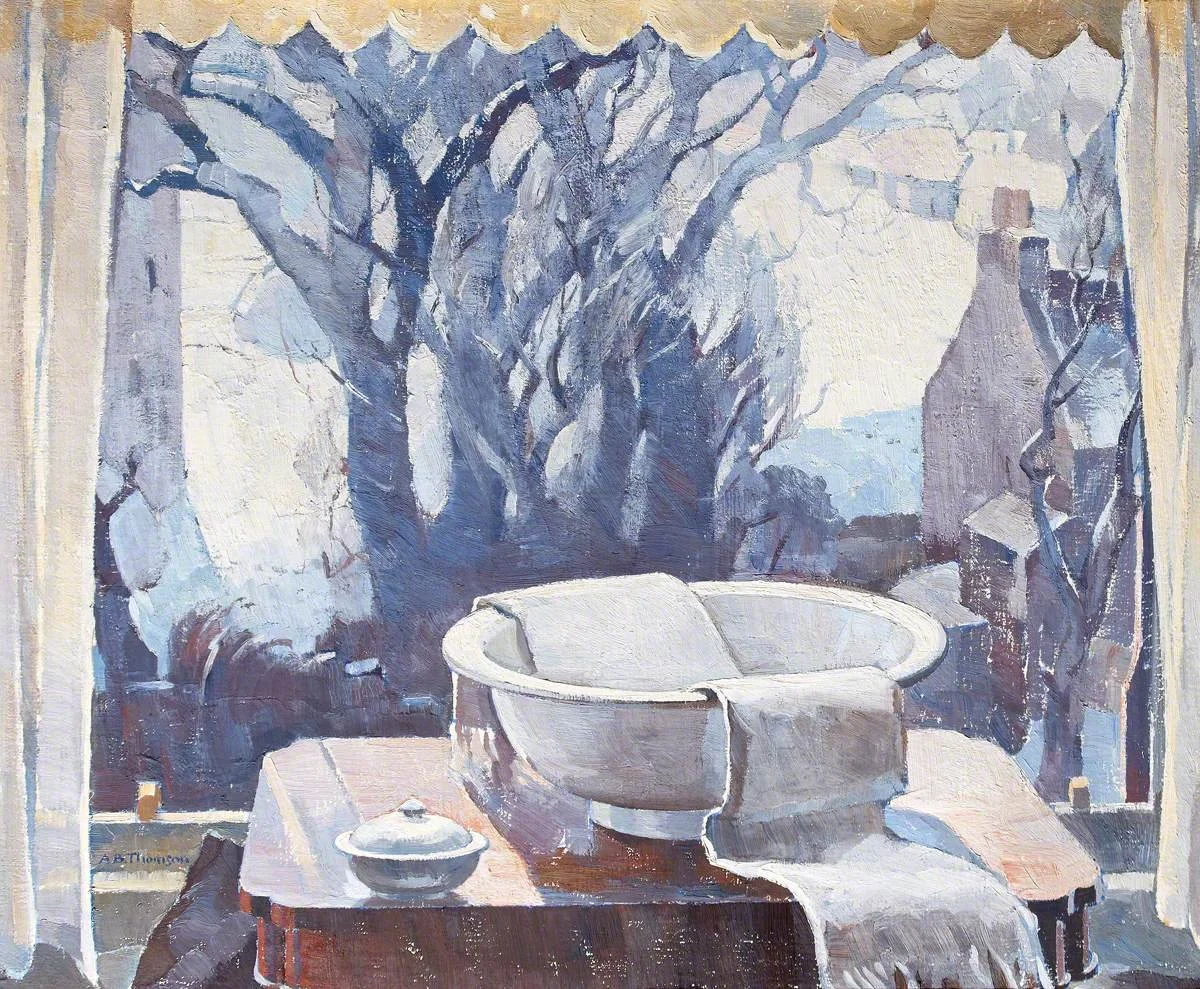
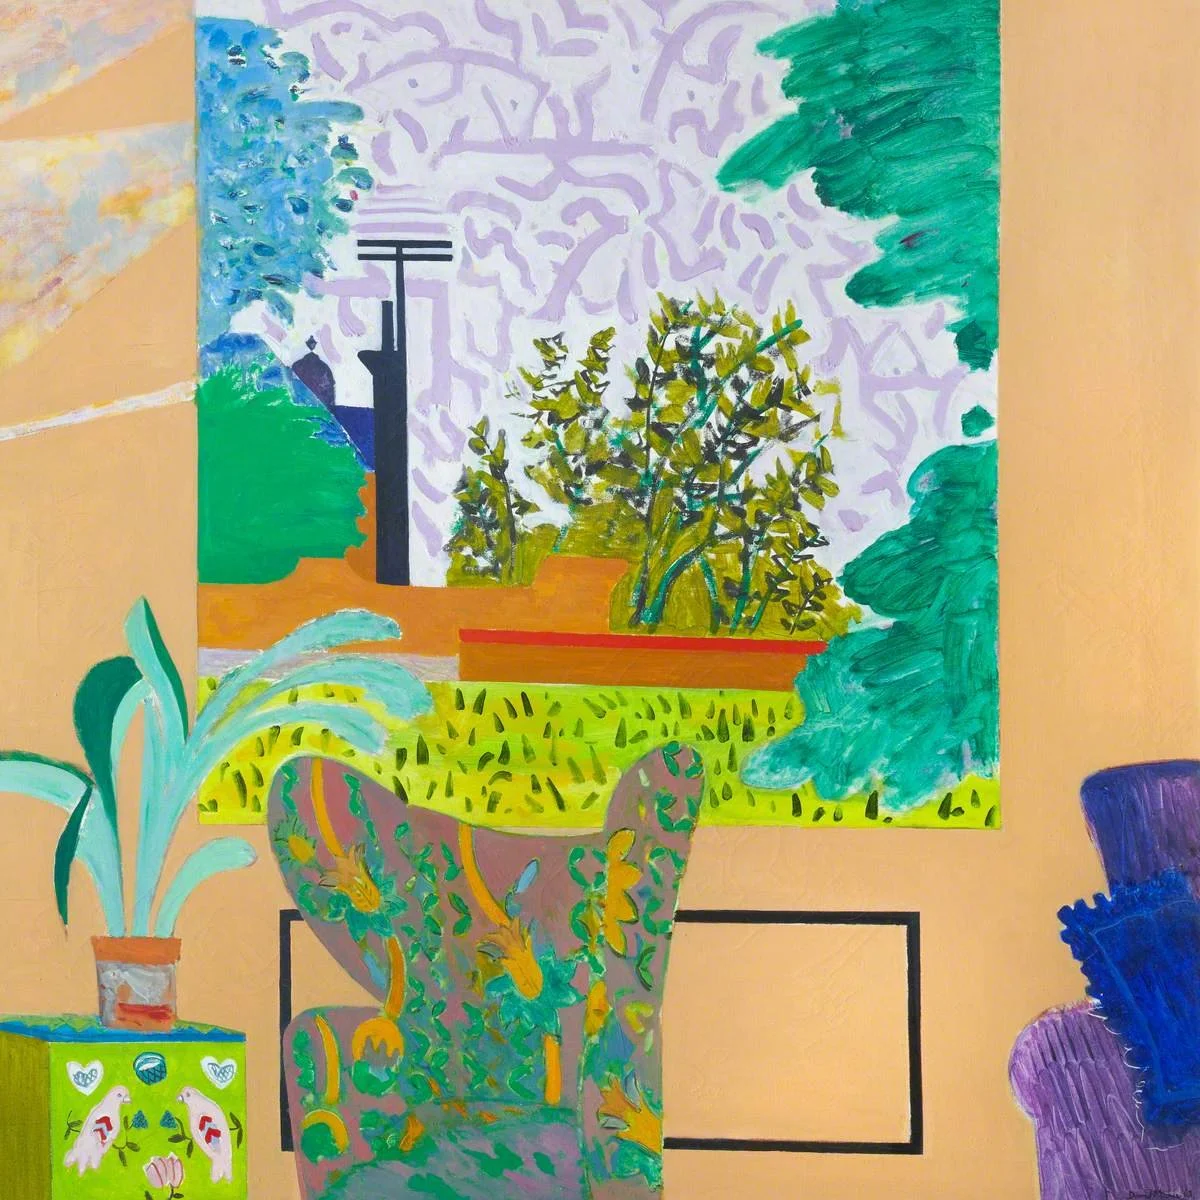
To inspire your composition, here are a selection of images from artists who’ve drawn and painted window scenes using various viewpoints…
I’d love to see what you create!
Email me: studio@francesarnold.co.uk
I look forward to seeing you at more DRAW Studio workshops soon!
Join my next workshop at Newcastle Arts Centre on Sat 9 May, 10am - 4pm
Link below for more information